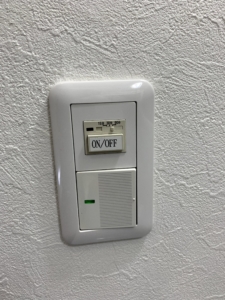
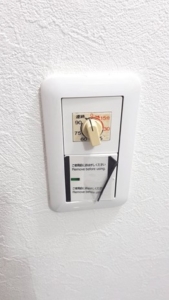
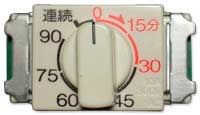
The bathroom is humid and needs ventilation. It’s best to open the window, but you can’t always open it. Ventilation fans in Japanese bathrooms usually have a timer-type switch. Wind-up timer. If you turn the knob every day, it will gradually wear. The ventilation fan (1) does not move, or (2) keeps moving.
If you ask an electrician, 20000 yen (wage 10,000 yen + parts fee 5000 yen + business trip fee 5000 yen) If you ask a home center, they will outsource and charge an intermediary fee. And then you have to wait for more than a week.
So, here’s how you can handle it cheaply.
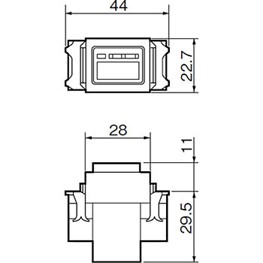
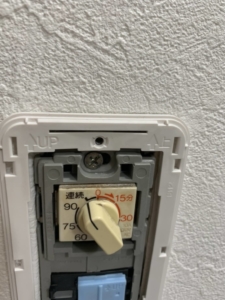
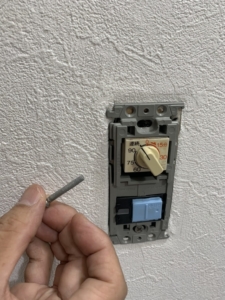
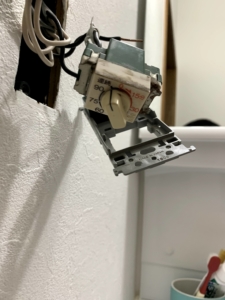
I will explain the case of the old timer of the mainspring type (Panasonic “WN5291K”).
How do you exchange it?
Be sure to turn off the breaker.
The following replacement work touches the electric wire and processes the electric wire, so a qualification as an electrician is required
→ Self-responsibility
Firstly turn off the circuit breaker

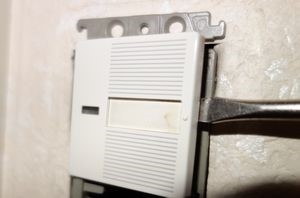
1. Remove the outer cover (large) of the switch
Gently insert a flat-blade screwdriver into the gap in the outer cover, and gradually shift the location to remove it.
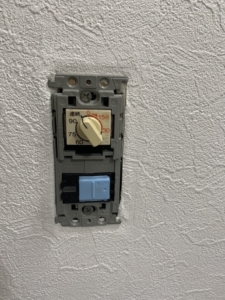
2. Remove the switch cover (small)
In the same way, insert a flat-blade screwdriver into the gap and gently remove the “cover on which the switch fits directly”.
3. Remove the lighting switch (outside)
If there are two upper and lower switches with the lighting switch, insert a flat-blade screwdriver into the gap between the lighting switches in the same way, and remove it like a lever.
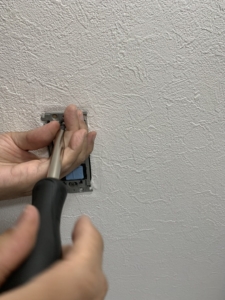
4. Remove the small screw on the switch plate (outside).
Does the switch plate have an outside and an inside (base plate)?
The switch plate (outside) has small screws on the top and bottom.
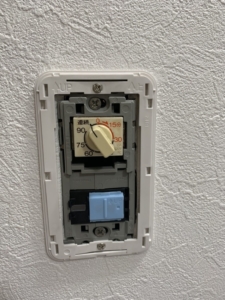
5. Remove the large screw on the base plate (gray).
There are large screws on the top and bottom of the base plate
Remove the two large screws
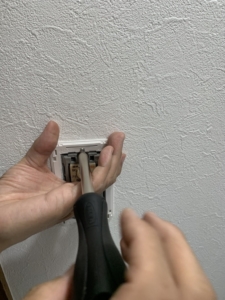
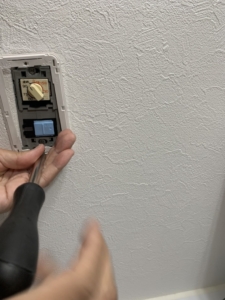
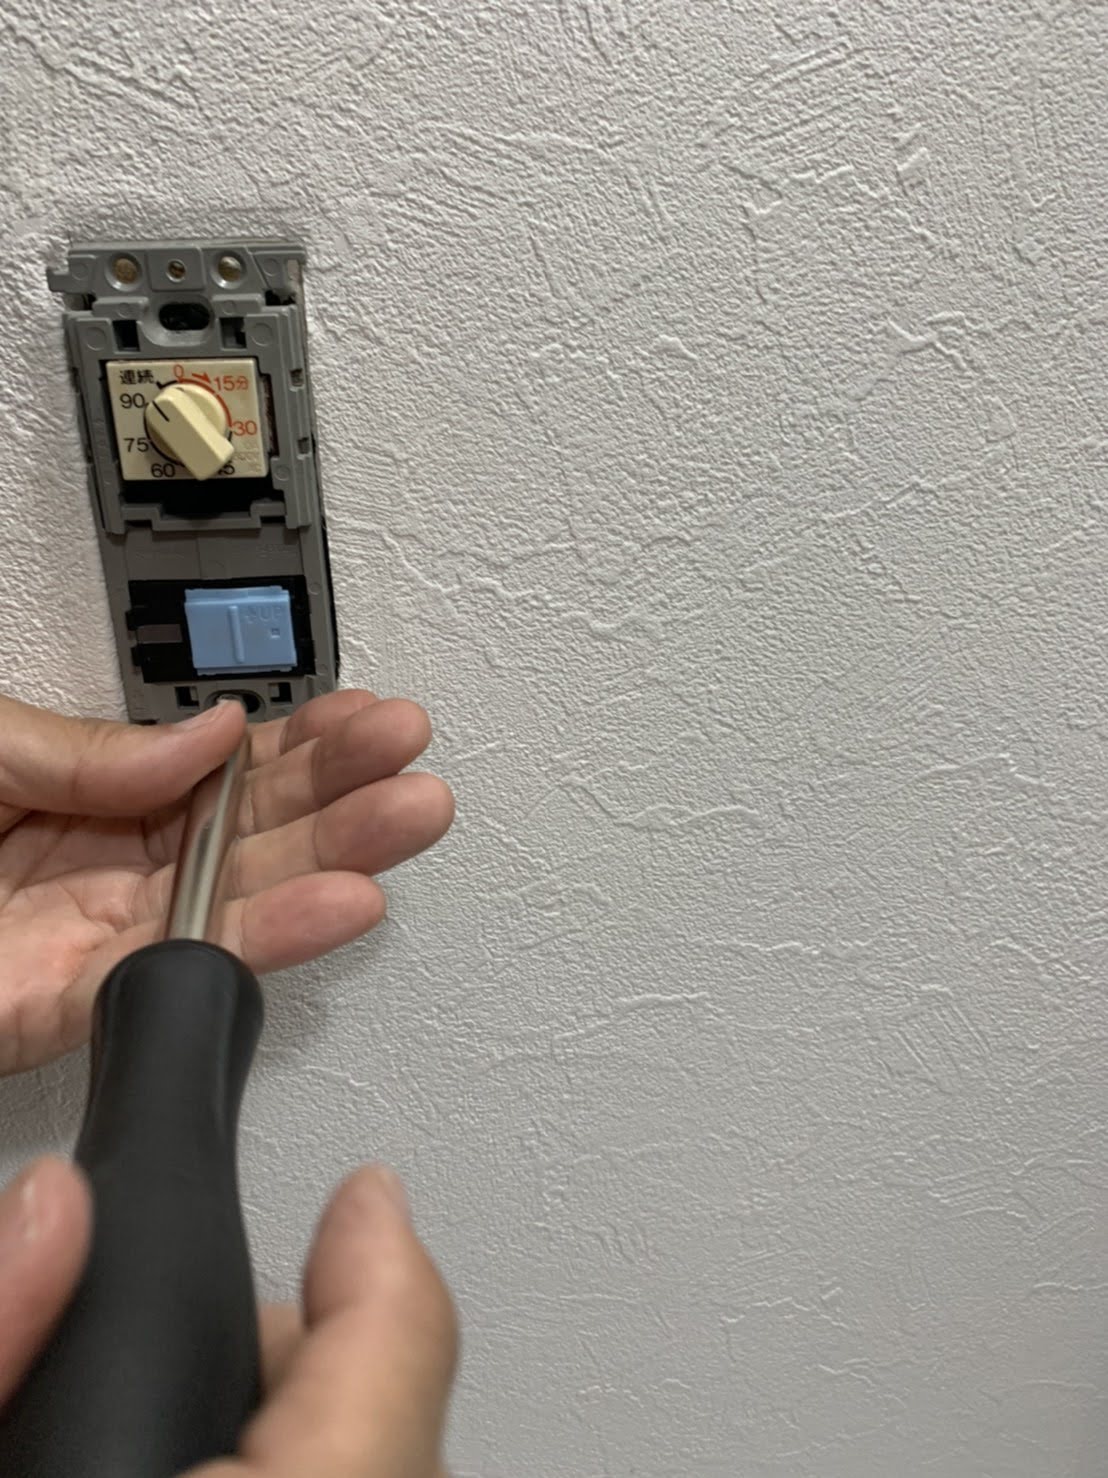
6. Remove the base plate from the wall, unplug the cord, and remove the switch.
“Pull out” rather than “remove”
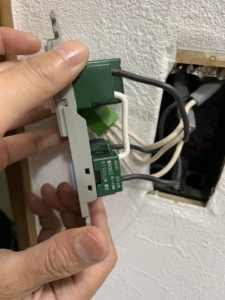
Green switch box
Insert a flat-blade screwdriver deeply into the vertically long holes on the left and right.
→ The cord inserted in the back of the switch comes off lightly
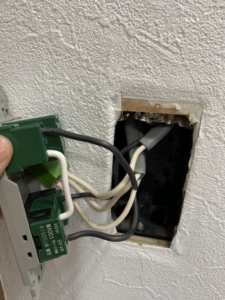
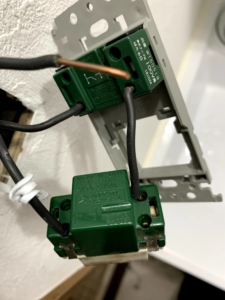

The code is color-coded. You have to remember what color is stuck in which hole (photograph required)
A wiring diagram is written on the back of the box.
When removing the switch, there are two metal claws on the left and right of the switch, and the two claws are fixed by fitting in the small groove of the plate, so spread the plate while bending it slightly outward. remove
Be careful not to break the plate
7. Fit the new switch on the base plate
Align the two metal claws on the left and right of the new switch with the small grooves on the base plate in order, and push them in until you hear a “click”.
Once the switch is fitted to the base plate, push it deep into the new switch, paying attention to the color of the cord, and in the same place as the previous switch.
Push the cord not only at the tip but also quite deeply.
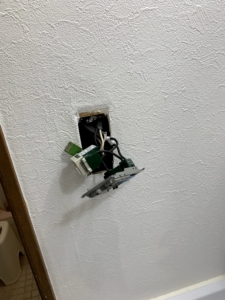
8. Gradually fit
After wiring is finished, the rest is simply to put it back.
Screws can be quite small (prepare a small screwdriver)